
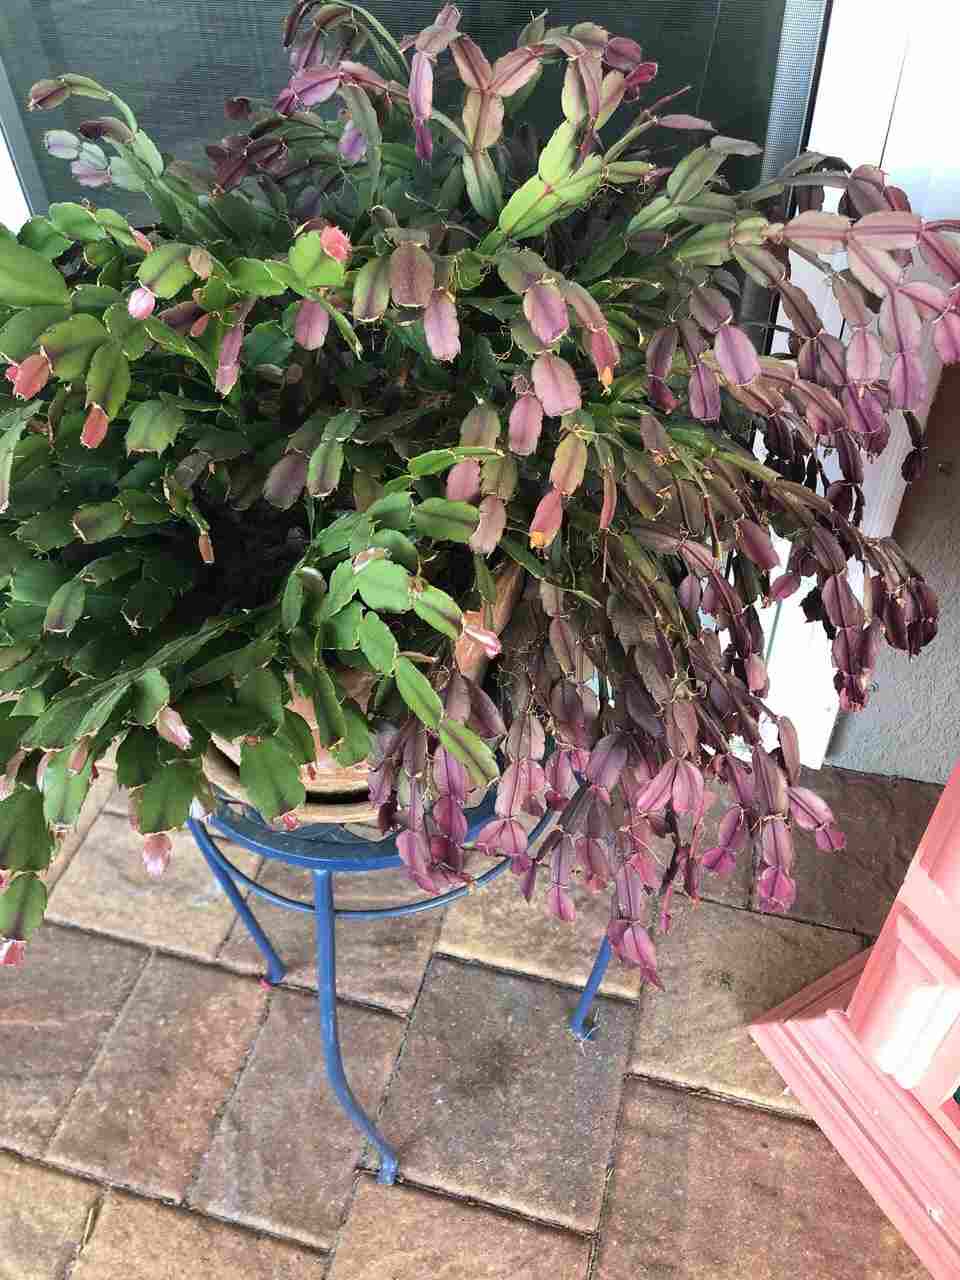
The first Christmas cactus I ever tried to save looked like it was hopeless. The segments had gone soft and floppy, a few had dropped off, it looked so grey I was sure I’d left it too late.
But I didn’t kill it. It took a few weeks but it came back and the following winter it flowered like nothing had happened.
So if yours is looking rough right now don’t write it off yet. A Christmas cactus can bounce back from a lot more than you’d expect. You just have to work out what went wrong and stop doing the thing that’s causing it.
What makes it more complicated is that dying Christmas cactus and a resting Christmas cactus can look pretty much the same. So firstly you need to figure out which one you’re dealing with.
This step by step guide to reviving a dying Christmas cactus will help you to get yours back to full health.
Quick Answer
- Check for Root Rot First: Overwatering is the big killer. Take the plant out of the pot and look for brown roots then cut them away and repot it in dry well draining soil.
- Fix the Watering: Only water when the top inch of soil is dry. A Christmas cactus is a plant from to rainforest not the desert so it hates both soggy soil and being very dry for weeks.
- Move It Out of Trouble: Get it away from direct sun, drafts and vents that give off heat. Bright indirect light and steady room temperatures give it the best chance of recovering.
First Work Out How Far Gone It Is
Before you do anything drastic you need to know whether your Christmas cactus is really dying or just having a rest. They go through a dormant period and during that time they can look like they’ve stopped growing which is normal and not a reason to panic.
A Christmas cactus that is really dying will tell a different story. This is how to tell them apart.
The Pinch Test
Squeeze one of the flat segments between your fingers. A healthy segment feels firm and slightly plump. One that’s dehydrated will feel thin and wrinkled. A rotting one feels soft and sometimes a bit slimy.
Firm and plump means the plant is basically fine and probably just dormant. Wrinkled means it needs water. Squishy means you’ve probably got rot and you’ll want to act on that quickly.
Check the Color and the Base
Look at where the segments meet the soil. If the base of the plant is brown, mushy or looks like it’s collapsing then the rot has reached the crown and that’s serious. If the segments have gone a sort of red or purple color that’s usually stress from too much light or cold, which is something that can be fixed easily enough.
Also look at the roots if you can. I know that means getting your hands dirty but it’s the most useful thing you can do. Healthy Christmas cactus roots are pale and firm. Rotten ones are brown and fall apart when you touch them.
If you want to rule out a few things quickly our general guide on why your plant is dying does the same thing for other houseplants.
Once you know roughly what state it’s in you can find out what the cause is. Most of the time it comes down to one of these six things and they’re all something you can turn around.
1. Overwatering and Root Rot
The Problem:
This is the most common reason a Christmas cactus starts dying. People hear the word “cactus” and either water it like a succulent or, more often, water it constantly because it looks droopy and they think it needs it.
But a Christmas cactus isn’t a desert plant. According to the University of New Hampshire Extension these are epiphytes from the rainforests of Brazil where they grow up in the branches of trees, not in soggy ground. So when the soil stays wet the roots can’t breathe, they start to rot and the rest of the plant follows.
Signs of Overwatering:
- Segments that feel soft or limp rather than firm.
- A base or stem that’s turning brown and collapsing.
- Soil that stays wet for days and days.
- A nasty smell coming from the pot.
If your plant is more limp than mushy it might be a lighter case and this guide on why a Christmas cactus goes limp or wilting looks at the causes.
The Fix:
- Stop watering and take the plant out of its pot.
- Shake off the wet soil and look at the roots. Cut away anything you see that’s brown or mushy and keep only the firm pale roots.
- Let the plant sit out and air dry for a few hours so the cut roots can callus over.
- Repot it into fresh dry well draining soil in a clean pot with a good amount of drainage holes. A mix made for cactus or succulents works well or you can add extra perlite to a regular mix.
- Wait a few days before you water again and then go easy with it.
A cheap soil moisture meter is useful if you’re the type who tends to overwater.
 XLUX Plant Soil Moisture Meter, for Indoor and Outdoor use, Battery-Free
2. Underwatering and Shriveled Segments
The Problem:
You can go too far the other way. Because everyone’s so scared of overwatering some people barely water at all and the plant slowly dries out. A Christmas cactus can handle a bit of neglect but it doesn’t do well with long droughts the way a real cactus from the desert can.
When it’s been dry for too long it takes the moisture out of its own segments to survive and they go thin and limp. Wrinkled a lot of the time too.
Signs of Underwatering:
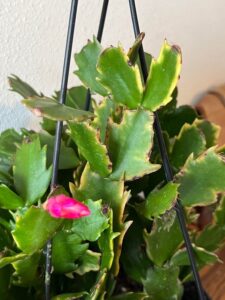
- Segments that look wrinkled, flat or shrivelled.
- Soil that’s coming away from the sides of the pot.
- The plant feels light when you pick up the pot.
- Segments that look better after a day of watering.
The Fix:
- Give it a slow and thorough watering. Water it until it runs out of the drainage holes.
- Even better, bottom water it. Put the pot in a tray of water for 15 to 20 minutes and let the roots soak it up from below.
- Empty the tray afterwards so it isn’t left sitting in water.
- Going forward check the soil with your finger and water once the top inch feels dry.
The UNH Extension has a good rule for this plant: when in doubt underwatering is better than overwatering. Dry is easier to fix than rot.
3. Too Much Direct Sun
The Problem:
In the wild Christmas cactus grow in the shade under a rainforest canopy so giving one lots of direct afternoon sun does real damage. The Clemson Cooperative Extension notes that while some winter sun is fine strong summer sun makes the plants look pale and yellow.
Signs of Sun Stress:
- Segments turning reddish, purple or pale yellow.
- Dry patches on the segments facing the window.
- A generally faded look.
The Fix:
- Move it somewhere with bright indirect light. An east or north facing window is usually best.
- If you only have a bright window get the plant back a few feet from it or use a sheer curtain.
- The reddish color often fades back to green over a few weeks once the light is right.
4. Cold Drafts and Temperature Swings
The Problem:
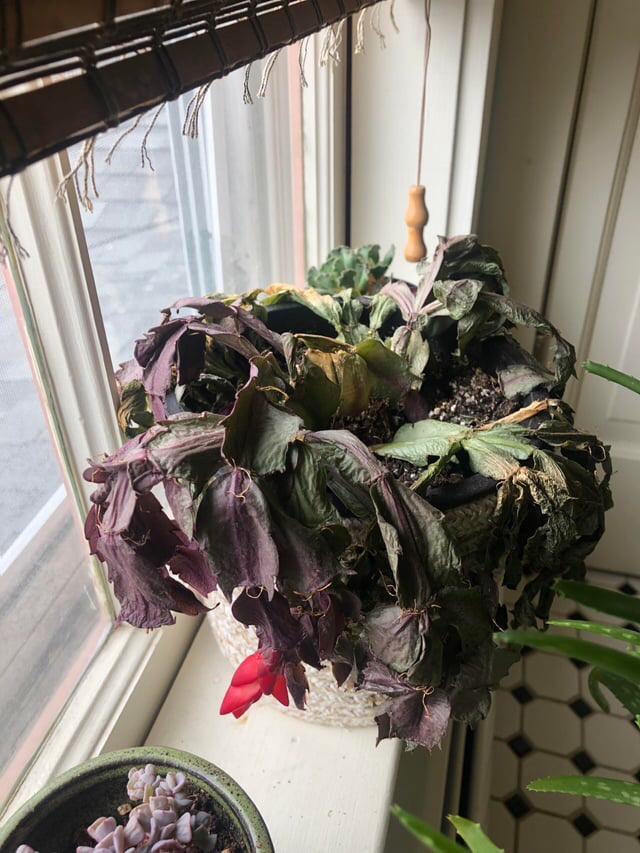
Sudden temperature changes stress a Christmas cactus badly. A cold draft from a door, a cold windowsill in winter or hot dry air that comes from a vent can all cause segments to drop and the plant to go downhill.
These plants are happiest in steady, moderate warmth. The best for them is somewhere between the low 60s and about 80°F during active growth, with cooler nights later in the year to trigger flowering.
Signs of Temperature Stress:
- Sudden segment drop with no other obvious cause.
- Damage that’s worse on the side nearest a window or vent.
- A plant that began to struggle right after you moved it or the seasons changed.
The Fix:
- Get the plant away from drafty doors, cold glass and sources of heat.
- Keep it somewhere the temperature stays fairly steady day to night.
- Avoid moving it around too much. They don’t being put in new and different spots.
Stop killing your plants by accident.
Get my free guide 7 Gardening Mistakes That Are Killing Your Plants — the most common reasons plants fail, and the simple fixes that turn them around.
5. It’s Been in the Same Pot Too Long
The Problem:
Christmas cacti like being a tight in their pots, so you don’t need to repot them often. But if yours has been in the same pot for quite a few years the soil breaks down over time, stops draining properly and holds too much water. That old tired soil is going to lead to root rot.
Signs It Needs Repotting:
- The Water sits on top of the soil or runs straight through without getting wet.
- Roots growing out of the drainage holes.
- The plant has stalled and looks tired despite good care.
The Fix:
- Repot it in spring after flowering, not in the middle of a bloom or bud set.
- Go up just one pot size. A pot that’s too big holds on to too much wet soil.
- Use a light well draining mix. The NC State Extension recommends a moist, well drained, airy medium with peat moss, sand and perlite.
- Terracotta pots help because they let the soil dry out faster than plastic. Something like this terracotta pot with drainage does the job.
 6 inch Terracotta Clay Pots for Plants with Saucer
6. Dropping Segments
The Problem:
A few dropped segments here and there isn’t the end of the world but a plant shedding lots of them at once is a big sign something is wrong.
Segment drop is usually a symptom rather than a cause and it tends to point to watering problems, temperature shock or the plant being newly stressed by a move.
The Fix:
- Run through the checks above and find the underlying cause. Nine times out of ten it’s watering or a draft.
- Fix that one thing and the shedding usually slows down within a couple of weeks.
- Don’t throw away the dropped segments. Healthy ones are perfect for propagating.
Not sure which of these is behind your plant’s decline? Use the quick checker below. Answer a few questions and we’ll point you toward the most likely cause.
What's Wrong With My Plant?
Answer a few questions and we'll help diagnose the problem.
Step by Step Revival
If your plant is in trouble I would start with a routine like the one below. This works best for the most common and most dangerous problem, which is root rot, but the same reset helps a stressed plant either way.
- Get it out of the pot. Tip the plant out and brush the old soil off the roots so you can see what’s happening.
- Assess the roots. Firm and pale is good. Brown and mushy is rot. Be honest here because leaving even a bit of rotten root behind can spread.
- Trim the damage. Use scissors to cut away every mushy root and any collapsed brown segments at the base. Wipe the blades between cuts.
- Let it dry. Put the trimmed plant somewhere that gets shade for a few hours to a day so the cuts can callus over. This step really cuts down on rot coming back straightaway.
- Repot dry. Put it in fresh dry well draining soil in a clean pot with good drainage. Don’t water it in.
- Wait, then water lightly. Leave it several days before the first small watering. From then on only water when the top inch is dry.
- Put it somewhere calm. Bright indirect light, steady temperature, no drafts. Then leave it alone and let it recover. It won’t speed it up by fussing it.
A clean pair of pruning snips makes the trimming a lot easier and cleaner than kitchen scissors.
 Fiskars 6″ Steel Micro-Tip Pruning Scissors, Garden Snips for Small Plants
If It’s Too Far Gone, Save the Healthy Segments
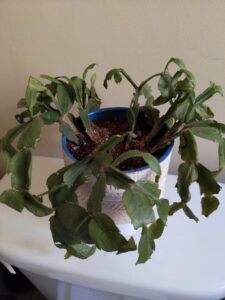
Sometimes the plant is too far gone and can’t be saved. The crown has rotted, the roots are gone and there’s just nothing left to work with. Its sad but it happens to all of us.
But even then you’re rarely left with nothing. As long as a few firm healthy segments remain you can start a new plant from them. It’s really easy to do.
Snap off a piece two or three segments long, let the cut end dry for a day or two, then pot it up in slightly moist soil. Our full guide on how to propagate a Christmas cactus takes you through it properly.
How to Tell Your Christmas Cactus Is Recovering
Recovery is slow so don’t expect anythinf in a week. What you’re watching for is the plant stabilizing first, then starting to grow again.
The early good signs are segments firming back up and no more dropping off. After that you’ll start to see small new growth appearing at the tips of the segments, which is the clearest sign it’s on the right track. New roots will be forming underground around the same time even though you can’t see them.
Once it’s clearly growing again you can g get back into normal care and start thinking about the fun stuff. If it’s healthy enough to try for flowers this winter our guide on why a Christmas cactus won’t bloom will help you get there.
Quick Rescue Reference
| Problem | What to Do |
|---|---|
| Overwatering / Root Rot | Unpot, trim mushy roots, dry out, repot in fresh dry soil. |
| Underwatering | Soak thoroughly or bottom water, then water when top inch is dry. |
| Too Much Sun | Move to bright indirect light. Reddish color fades over time. |
| Cold Drafts / Heat | Move away from doors, cold glass and vents. Keep it steady. |
| Old Compacted Soil | Repot in spring, one size up, in an airy well-draining mix. |
| Dropping Segments | Find the underlying cause. Usually watering or temperature. |
| Beyond Saving | Propagate the healthy segments into new plants. |
Final Thoughts
Reviving a Christmas cactus really comes down to two things: working out if it’s rotting or needs water and then fixing the one habit that’s causing the problems.
Get those right and give it a bit of patience and there’s a good chance you’ll be looking at fresh growth in a few weeks and flowers next winter.
These plants are known to live very long and be forgiving. Mine came back from looking like a lost cause and it’s still going strong years later so don’t give up on yours too soon.
Stop killing your plants by accident.
Get my free guide 7 Gardening Mistakes That Are Killing Your Plants — the most common reasons plants fail, and the simple fixes that turn them around.
