
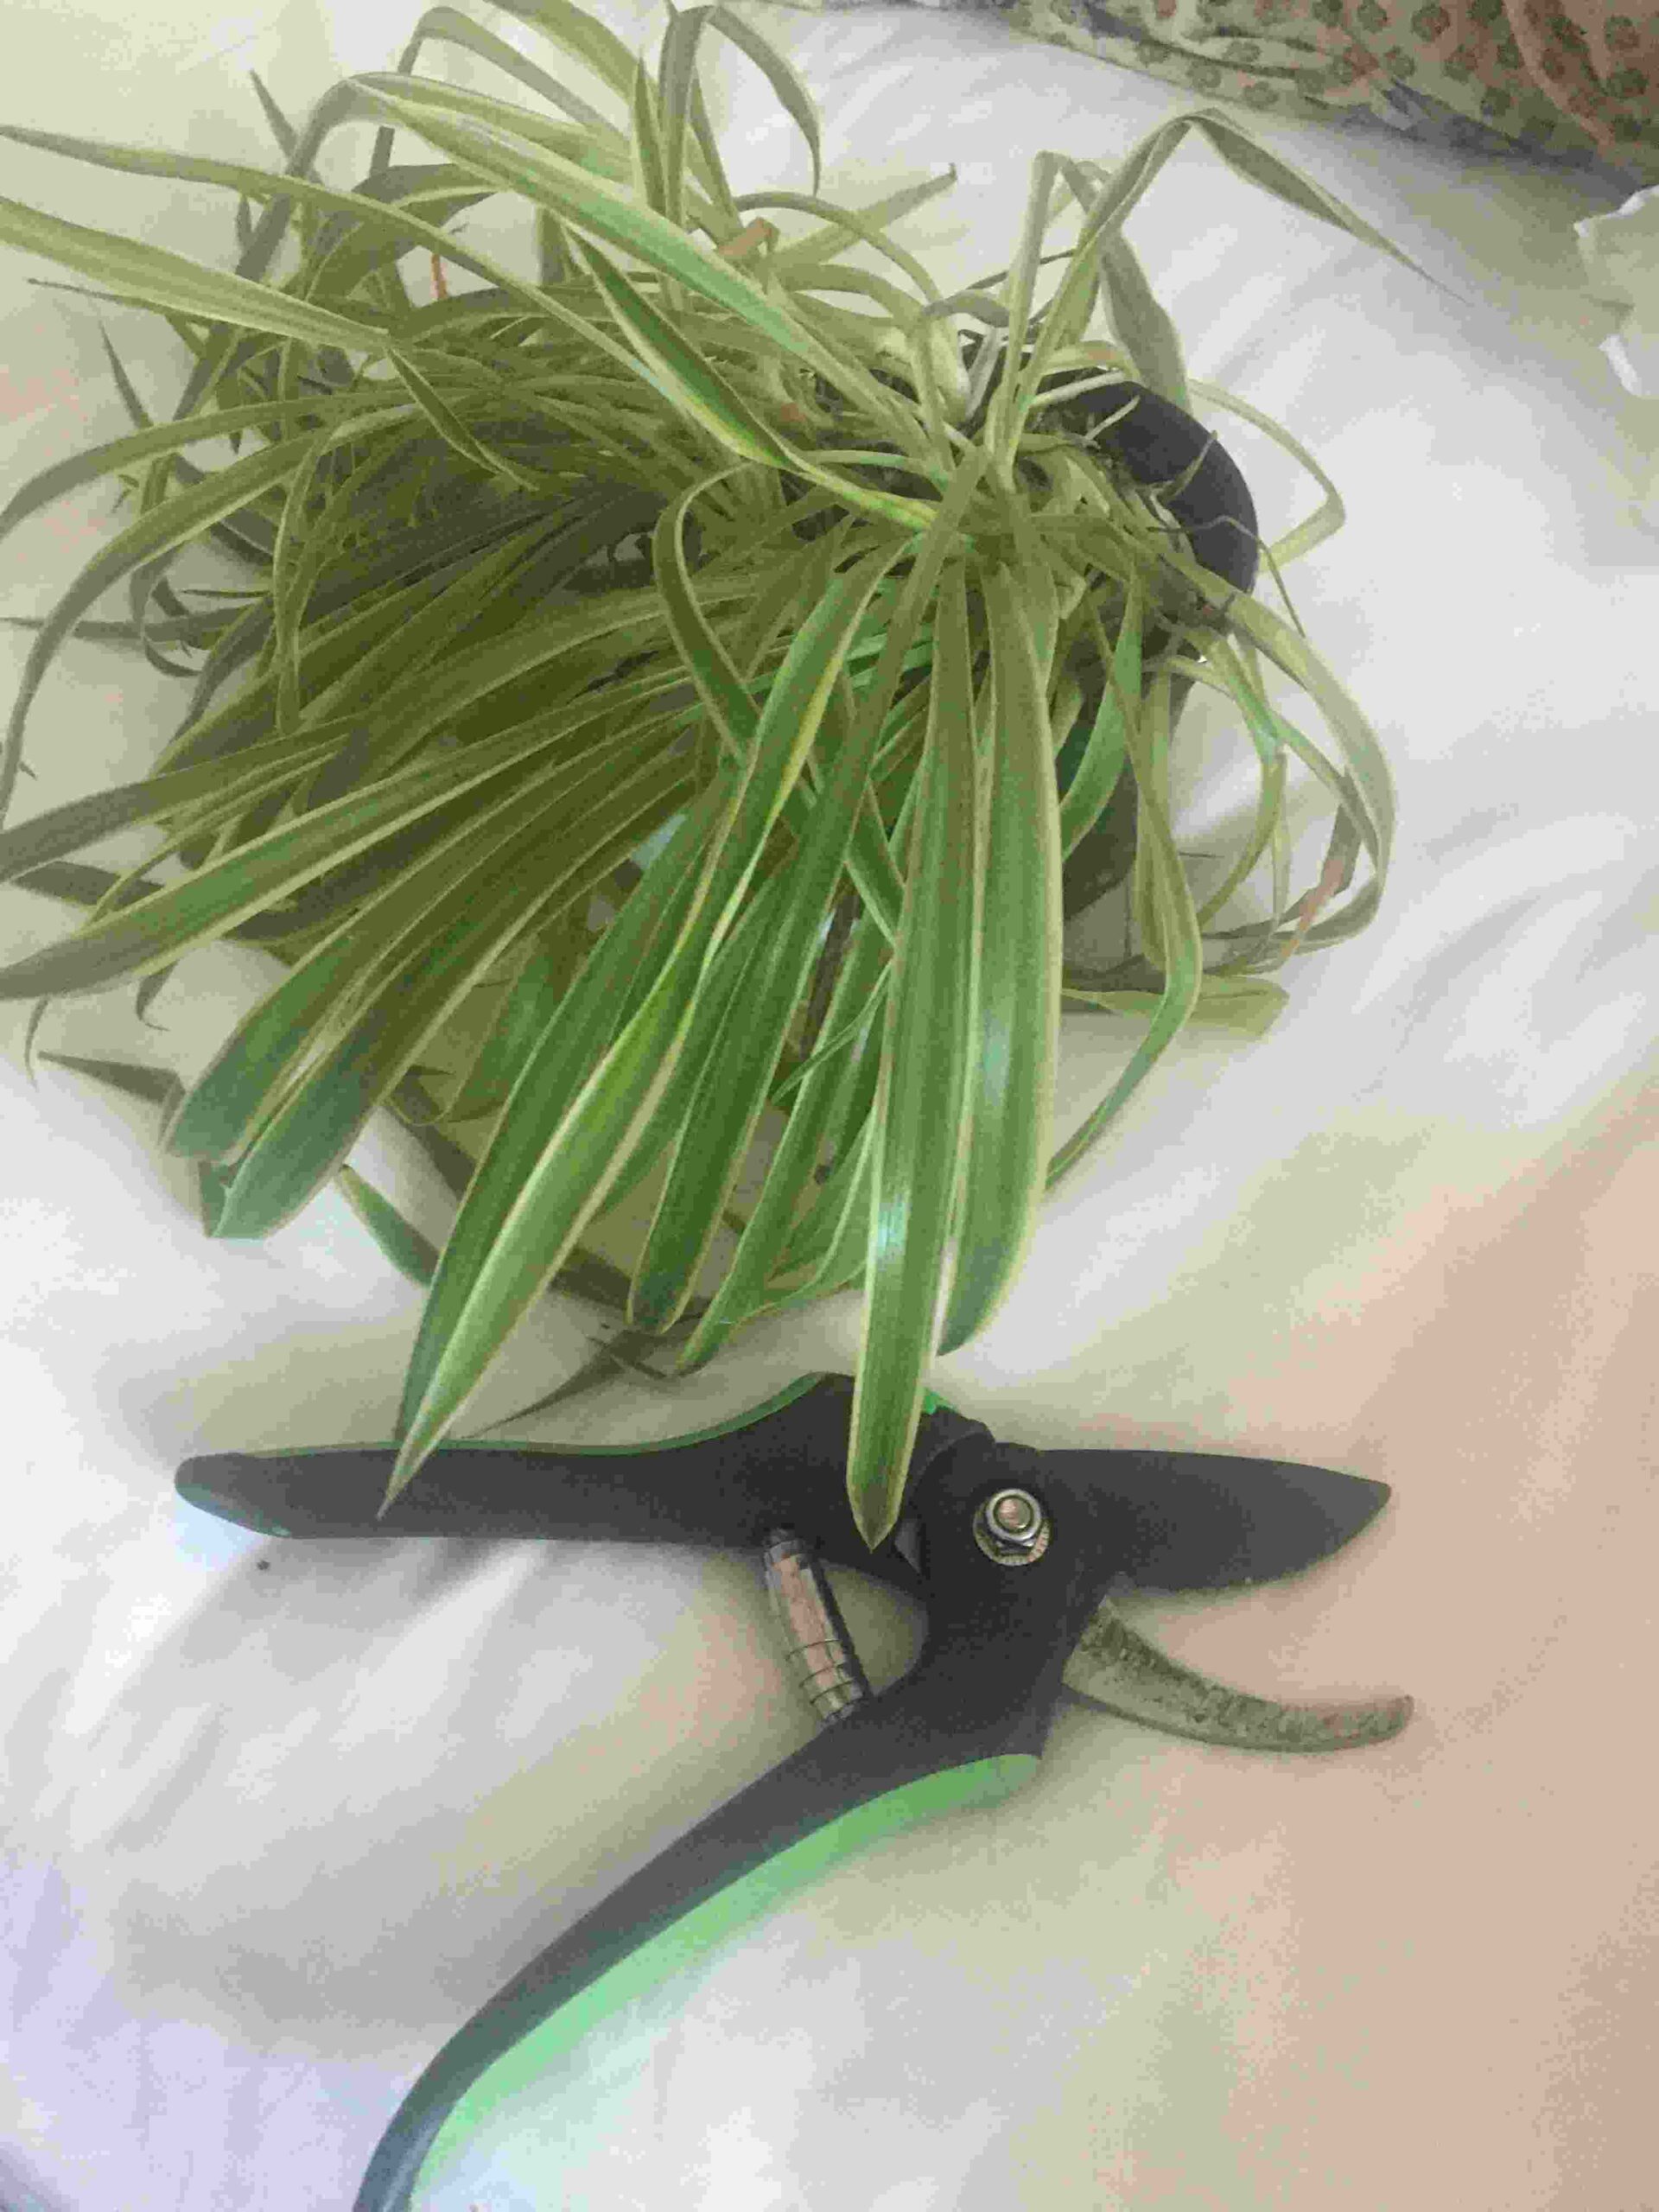
Spider plants are some of the most forgiving houseplants you can own, and that’s true when it comes to pruning as well. You cannot prune a spider plant badly enough to kill it.
You can be as decisive as the situation calls for – taking off a third, a half, even more in a single session if the plant has been neglected for a while – and the plant will give you new growth within weeks. Its that resilience that makes spider plant pruning satisfying rather than something to be nervous about: the stakes are low and the results are fast.
But spider plant pruning is not just about cutting anything that looks untidy. There are four tasks that are part of pruning a spider plant and each one has a different purpose and technique. Removing brown and damaged leaves is maintenance work that keeps the plant looking its best.
Trimming runners will decide whether the plant focuses on its own growth or on producing spiderettes. Pruning for bushiness is about understanding how the plant grows and making cuts that encourage a fuller crown.
And removing spiderettes for propagation means a single spider plant can produce a lots more new plants over the course of a season.
This guide covers all of it: tools and technique, the step by step process, how to handle each of the tasks and what to do with the plant – and the cuttings – afterward.
Why Spider Plant Pruning Is Different From Most Other Houseplants
It helps to understand a few things about how spider plants grow that make their pruning different from what you would do with a pothos, a monstera, a ZZ plant etc.
Spider plants (Chlorophytum comosum) grow as a rosette – a dense group of long leaves that emerge from a central crown. Unlike trailing plants that produce long vines, or upright plants that produce single stems, the spider plant’s growth comes out from the crown.
Individual leaves grow from the centre and arc outward and down as they mature with older leaves on the outside and newer leaves coming from the centre.
This means that pruning individual leaves does not affect the plant’s ability to produce more leaves from the centre. Removing a leaf from a spider plant does not stimulate branching or redirect energy the way cutting the tip of a pothos vine does.
The crown simply continues producing new leaves from the centre regardless of what you have removed from the outside. The practical implication: you can remove as many individual leaves as the plant’s appearance requires without worrying about the strategic implications of each cut. The leaves are the output, not the mechanism.
When it comes to pruning though you need to think about the runners and spiderettes. Runners – the long stems that grow from the crown and carry baby spider plants (spiderettes) at their ends – use up a lot of energy to grow. Producing runners and developing spiderettes uses resources that would otherwise go toward the plant’s own growth and leaves.
The decision to leave runners in place (for how they look and for propagation) or to remove them (to redirect energy to the parent plant) is the biggest decision you make with pruning a spider plant.
Chlorophytum comosum ‘Vittatum’ (the classic variegated type): The most common variety, with a cream stripe running down the centre of each leaf. Grows vigorously, tolerates aggressive pruning well and produces runners.
Chlorophytum comosum ‘Variegatum’: White margined leaves rather than a centre stripe. Slightly slower growing than Vittatum. Recovers well from pruning but give it a little more time between sessions.
Chlorophytum comosum ‘Bonnie’ (curly spider plant): Distinctive curly or wavy leaves. Pruning principles are identical but the curliness makes the plant look fuller with the same number of leaves as a flat leaved variety – bear this in mind when assessing how much to remove.
Chlorophytum comosum (solid green, no variegation): The least commonly grown but the most vigorous. Fastest growing and most resilient of all varieties. Tolerates the most aggressive pruning with the fastest recovery.

Tools and Technique
Spider plant pruning needs very little in the way of equipment. The tools you should have are simple and the technique is straightforward. The thing to keep in mind is making clean cuts that look tidy and don’l leave any rough edges that become brown and look ugly.
What You Need
- Sharp scissors: The most important tool. Dull scissors that tear the leaves instead of cutting them cleanly will leave brown and rough edges where you cut – which creates the problem you were trying to remove. Sharp scissors will give you a clean cut that stays green at the edge rather than browning. Dedicated plant scissors or a small pair of sharp household scissors both work well. Secateurs are too large for most spider plants – scissors are the right scale for the fine leaves and narrow runners.
- A clean cloth: For wiping the blades between cuts if sap builds up and for cleaning up afterwards.
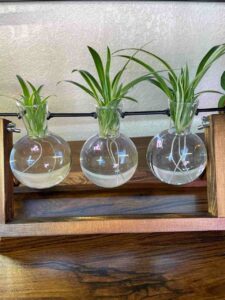
- Small containers of water: If you are propagating spiderettes then it’s good to have a few glasses or jars of room temperature water ready to put in them in after you’ve detached them.
- Gloves (optional): Spider plants are not toxic in the way that pothos or ZZ plants are although some people can get a mild irritation from the leaves. So if you have sensitive skin using some thin gloves is a good precaution of you’re going to be pruning for longer.

The Main Technique: Cutting at the Base
When you’re removing individual leaves always cut at the base of the leaf. Do it as close to the crown as possible where the leaf stalk meets the central point.
Do not cut the leaf partway along unless you are trimming a brown tip (covered in detail below). A leaf cut partway along will show the cut edge, which turns brown and remains visible for the life of that leaf section. A leaf cut at the base will just disappears leaving the crown tidy and with no stub.
For runners try to cut as close to the crown as possible – within 1 to 2cm of where the runner emerges from the plant is best. Leaving a long stub of runner after cutting the spiderette off will look a bit ugly and has no purpose: the stub will not give you any new growth and will eventually turn brown and die anyway. A clean cut close to the crown is tidier and cleaner in the long term.
Cutting Brown Leaf Tips: The Right Approach
Brown tips on spider plant leaves are one of the most common problems owners come across and trimming them is one of the most common spider plant pruning tasks. The technique for doing so is important because a badly trimmed tip creates more of problem than the original brown tip did.
The wrong approach: cutting straight across the tip with a flat cut. This leaves a blunt edge that looks artificial and will turn brown quickly which creates a new brown tip almost immediately.
The right approach: cut at an angle that follows the natural pointed shape of the leaf tip. Spider plant leaves taper to a point so the cut should also taper – a slight V cut or angled cut that makes it a natural looking point at the tip.
This takes an extra few seconds for each leaf but gets a result that is nearly invisible. Done well a trimmed brown tip blends into the shape of the leaf and is invisible at normal viewing distance.
The Step by Step Pruning Guide
To do a full prune of your spider plant you’ll want to remove dead and damaged material first, then make any decisions about runners and spiderettes, then deal with any concerns about the plant’s shape.
- Move the plant somewhere you can see it clearly and move around it. Spider plants in hanging baskets should be brought down and put at a height where you can work comfortably.
- Untangle any runners that have wrapped around each other or around the pot. Separate them so you can see each one clearly.
- Look at the plant overall: how many dead or brown leaves are there, what is the state of the runners and spiderettes and does the central crown look full and healthy or sparse and thin? This will help you decide on your approach – a plant with mostly healthy leaves but many long runners needs different treatment than a plant with significant amount of dead leaves and a sparse crown.
- Decide on your goals before you begin. Are you mainly tidying dead material? Removing runners to encourage the parent plant? Taking spiderettes for propagation?
- Starting at the outside of the crown where the oldest leaves are work inward looking at each leaf in turn. Fully dead or brown leaves come out first – cut at the base as close to the crown as possible.
- For leaves that are mostly healthy but have brown tips decide whether to trim the tip or remove the whole leaf. If the leaf is otherwise in good condition and the brown tip is small then trim the tip following the shape of the leaf. If the leaf is very brown, discoloured through more than the tip, or yellowing then remove the whole leaf from the base.
- Work all the way around the crown. Dead leaves on the back and underside of the plant are as worth removing as those on the face you see.
- If the dead leaves are packed at the base of the crown – particularly in a plant that has not been pruned in a long time – use scissors to get between the living leaves and remove the dead material from the base without damaging healthy leaves around it. This takes patience but the results are important: removing built up dead material from the base of the crown will improve the air that flows around the plant and how it looks.
- Count and assess the runners. How many are there, how long are they, do the spiderettes at their ends have root nubs (the small white bumps at the base of a spiderette that show they’re ready for propagation)?
- Decide which runners to keep and which to remove. Runners you are keeping because they look good or to allow spiderettes to develop further stay attached. Runners you are removing because the parent plant needs the energy or because the spiderettes are ready to propagate, get cut at the crown.
- For runners being removed for propagation: first detach the spiderette from the runner (more detail in the propagation section below) then cut the remainder of the runner at the crown.
- For runners being removed entirely (no propagation): cut the whole runner and spiderette at the crown in one go.
- Check whether any runners have begun to self root into nearby soil or another pot – this sometimes happens with plants sitting somewhere the runners can reach the ground. If a runner has self rooted sever it from the parent plant and either pot the rooted baby separately or leave it in place if it has rooted somewhere convenient.
- Step back and assess the overall crown. Does it look full and even or are there gaps where lots of removing of leaves has left sparse patches? Note where new growth will need to fill in and if the overall shape is looking balanced.
- Trim any remaining brown leaf tips that you noted during the first assessment but left until the dead material was cleared.
- For a hanging basket rehang the plant and see how it looks from its normal position. If the appearance from below and the sides is different from how it looked on the table then adjust.
- Remove all the cut material from the area. Have containers with water in ready for any spiderette cuttings. Wipe the scissors clean.
Pruning Dead, Brown and Damaged Leaves
Dead and brown leaves are the most common reasons to prune a spider plant and the one most likely to be done in small amounts on a regular basis rather than as part of one big session.
Brown Tips: Almost Always a Care Issue
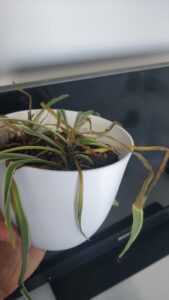
The brown leaf tips that affect almost every spider plant kept indoors are one of the most written about problems when it comes to houseplants, and also one of the most commonly misattributed. The most frequent causes are sensitivity to fluoride from tap water, low humidity and fertiliser salt build up – three different problems that produce the same symptoms at the tips of the leaves. The cosmetic fix (trimming the tip) is the same regardless of cause but the underlying fix is different for each.
- Fluoride toxicity from tap water: Spider plants are among the most sensitive houseplants to fluoride. Fluoride builds up in the tissues of the leaves and causes the cells to die at the tips, which are furthest from the plant’s water supply and therefore the first to show effects. Switching to collected rainwater, filtered water or water you let stand out overnight (which allows the chlorine to dissipate but does not remove fluoride – only switching water sources fully addresses fluoride) solves this over time. New growth after the switch will be fine but the existing tips that have already browned will not recover.
- Low humidity: Spider plants like moderate to good humidity and the dry air of centrally heated homes in winter causes them to lose moisture from the tips that shows up as browning. Moving the plant to a more humid place (bathroom, kitchen), grouping it with other plants you have or using a pebble tray with water can address this gradually.
- Fertiliser salt accumulation: Regular feeding with liquid fertiliser, particularly at full strength, causes salts to build up in the growing medium over time. Those salts stop the roots working properly and cause damage to the tips. Reducing the fertiliser concentration to half strength and flushing the growing medium very month with water stops the build up.
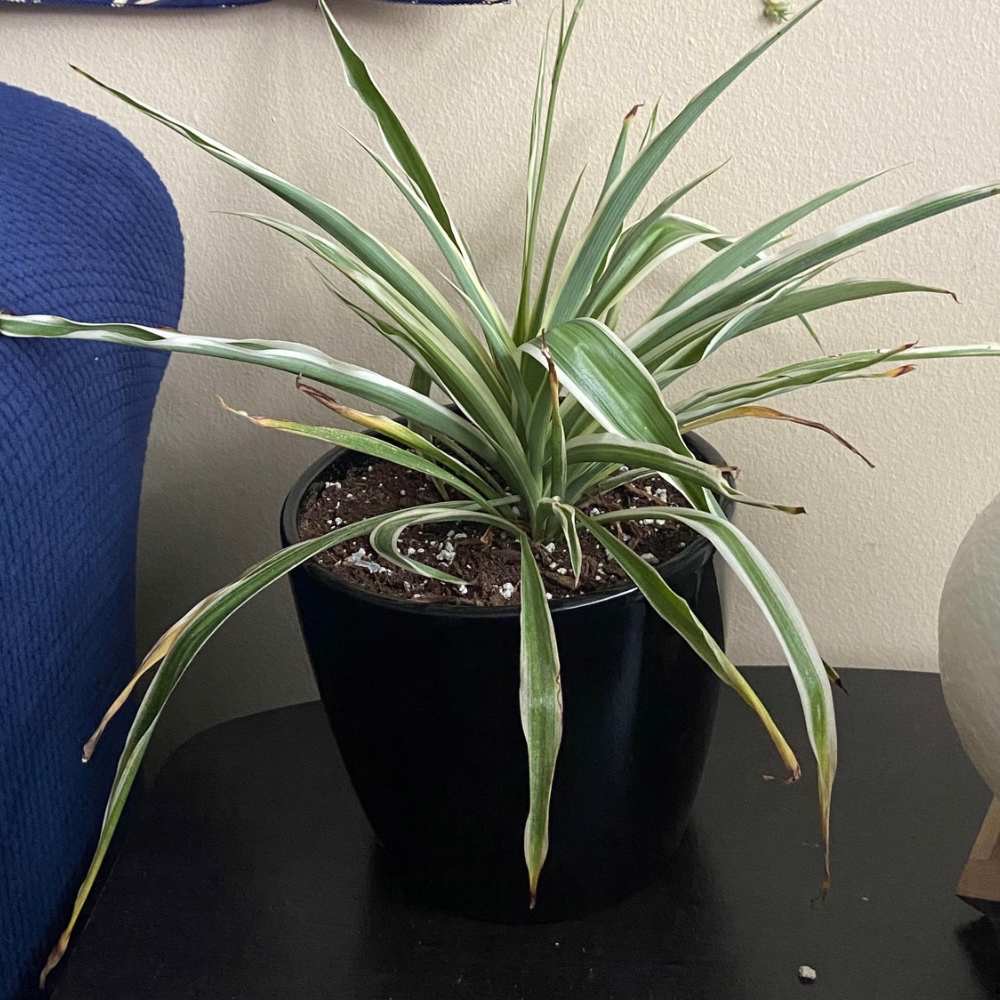
Trim the brown tips as they appear using the angled cut technique mentioned above – following the natural shape of the leaves to create a point rather than a blunt edge. Do not remove the whole leaf unless more than a third of it is affected. A leaf with a small trimmed tip continues to photosynthesize normally.

Fully Yellow or Brown Leaves: Remove at the Base
A leaf that has turned yellow or brown along most of its length is past the point where trimming helps and should be removed. A single yellowing leaf on an otherwise healthy plant is usually just natural ageing – spider plants shed older outer leaves as they produce new ones and one or two yellow leaves at a time is entirely normal.
Multiple yellowing leaves simultaneously or yellowing that is progressing is a sign a care problem – most likely overwatering, poor light or being root bound.
Physically Damaged Leaves
Leaves that have been torn, kinked or damaged in some way should be removed at the base. A damaged leaf continues to photosynthesize through the undamaged portions but where the damage is will turn brown and will always look bad.
Pruning Runners and Spiderettes
The runners are not passive on a spider plant. They use up resources that comes at the expense of the parent plant’s own growth and leaf production.
The Energy Tradeoff
When a spider plant produces a runner it is redirecting it’s energy from the crown and roots to growing a stem and developing the spiderette at its end. A plant with many long runners and spiderettes is investing a lot in reproduction at the expense of its own growth.
This is not really a problem – it’s what healthy spider plants do – but it becomes relevant when you want the parent plant to produce more leaves, recover from something or just look fuller and more substantial.
Removing runners redirects that energy back to the parent plant. You should get more leaves growing from the crown after – larger new leaves and more of them. For a plant that looks thin or sparse despite otherwise normal care removing runners is often the best thing you can do.
When to Leave Runners in Place
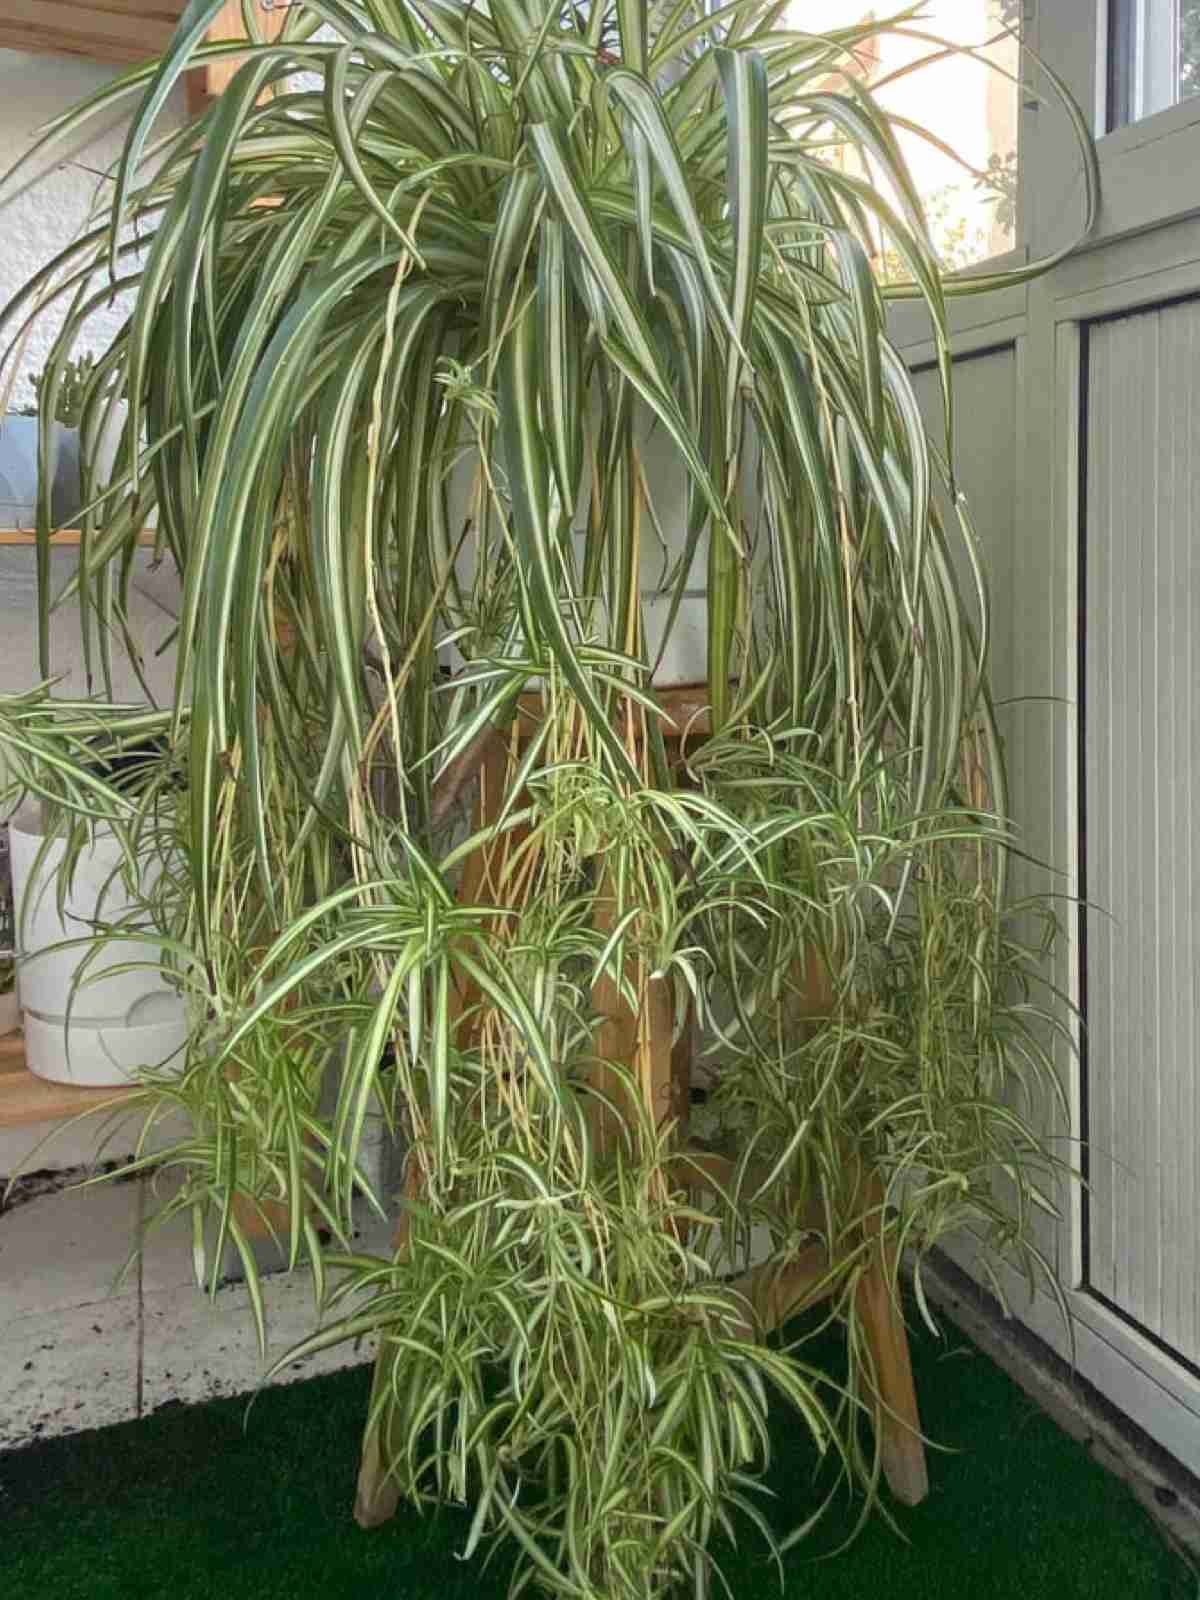
Runners left in place have value: they are look good (particularly in a hanging basket), they give you something to propagate and they are a sign of a healthy plant doing what healthy spider plants do.
A plant in a hanging basket where the full cascading effect is part of its appeal doesn’t need its runners removed. A plant on a shelf producing runners that are hanging down awkwardly or tangling with other plants might well do.

When to Remove Runners
Remove runners when: the parent plant looks sparse and you want to redirect energy to growing leaves; the spiderettes are ready to propagate and you are removing them for that reason; the runners are becoming messy; or the plant is recovering after repotting, root rot treatment or other stress and the energy its using up on growing runners would be better to help it rebuild.
How to Remove a Runner
Cut the runner as close to the crown as possible – within 1cm of the point where it emerges from the plant. If the spiderette at the end of the runner is being kept for propagation then detach it from the runner before cutting the runner at the crown then cut the leftover stub of runner at the crown.
Do not leave long stubs of runner attached as they don’t help and look bad.
Pruning to Encourage Bushier, Fuller Growth
A spider plant that looks thin, sparse or smaller than you would like can be improved by removing leaves and the right care. Unlike a pothos, where pruning the tips stimulates branching, or a monstera, where cutting stimulates new shoots, a spider plant’s fullness comes from its health and activity of its crown – the central growing point that produces new leaves.
The Role of Leaf Removal in Crown Fullness
Removing dead and damaged leaves helps the brown be more full because it gets rid of the competition for resources. A large, dead leaf at the outer edge of the crown is not photosynthesising but it is taking up space and the crown is still expending some resources on it.
Regular removal of older, outer leaves – not just the fully dead ones but the older, less vibrant ones – makes room for the newer inner leaves to become more visible. The inner leaves of a spider plant are always the most recently produced and the most vibrant; when they are hidden behind ageing outer leaves the plant looks older and duller than it actually is.
The Combined Approach: Prune, Reduce Runners and Pot Cuttings Back In
The best way to get a full and impressive looking spider plant is the same approach that works for pothos: prune the parent plant, remove the runners to redirect energy to the crown, propagate the spiderettes, and once rooted, pot those new plants back into the same container as the parent.
Adding three or four new rooted spiderettes to a pruned parent plant produces a pot with lots more growing points and therefore more leaves than the parent plant alone would produce in a single growing season. This is what nurseries do to produce the full spider plants in the photographs and it is something any of us can do with a little patience and a healthy parent plant.
What to Do With Spiderettes: Propagation
Spiderettes produced by runners come almost ready for propagation – they often already have root nubs at their base before they are even detached from the parent plant and the success rate is very high when they get what they need.
When Is a Spiderette Ready to Propagate?
A spiderette is ready to propagate when it is large enough to sustain itself and, ideally, when it has already begun developing root nubs. Root nubs are the small white bumps at the base of a spiderette – the beginning of roots forming while the plantlet is still attached to the parent. A spiderette with root nubs you can see will root much more quickly than one without them.
As a size guide a spiderette with at least three or four leaves and a body roughly 3 to 5cm across is a good candidate for propagation. Smaller spiderettes can be propagated but take longer to root and are more likely to fail. Leaving a small spiderette on the runner for a few more weeks until it is larger is almost always worthwhile.
Method 1: Water Rooting (While Still Attached)
The most reliable method for fast rooting is to root the spiderette in water while it is still attached to the runner. Put a small jar of water beside or below the parent plant, position the spiderette so its base is submerged in the water while the runner stays attached to the parent plant and then leave it for two to three weeks.
Roots will develop fast this way – sometimes dramatically so, particularly if the spiderette already had root nubs – because the plantlet still has the parent plant’s resources supporting it while its own roots develop.
Once the roots are 2 to 3cm long cut the runner just above the spiderette’s crown, detaching it from the parent plant, and pot it into a small container of moist, well draining compost.
Using this method consistently produces the strongest and fastest establishing young plants because the transition from them being dependent to independent happens gradually rather than all at once.
Method 2: Water Rooting (After Detachment)
Cut the spiderette from the runner (cutting just below the base of the plantlet, leaving the runner attached to the parent for removal separately) and put it in a small jar of room temperature water with the base submerged and the leaves above the waterline. Position it in bright indirect light and change the water every five to seven days.
Roots usually appear within one to three weeks. Once the roots reach 2 to 3cm in length pot it into a small container of moist, well draining compost.
This method is slightly slower than rooting while attached but produces plants just as strong given a little more time and is more convenient when you are detaching multiple spiderettes at once.
Method 3: Direct into Compost
Spiderettes with already developed root nubs can be potted directly into moist compost without a water rooting phase. Press the base of the spiderette into the surface of moist compost in a small pot, making sure the root nubs are in contact with the compost.
Keep the compost moist (not wet) and cover with a clear plastic bag so the humidity stays high for the first week or two. New leaves growing is the sign that the roots have established and the plant is independent.
This is the most convenient method for lots of spiderettes and is appropriate when the plantlets have clearly developed root nubs. It is less reliable for spiderettes with no root development yet – for those water rooting first is safer.
Potting Rooted Spiderettes Back Into the Parent Plant’s Pot
Once spiderettes have rooted and are showing new growth they can be potted into their own containers, given away, or – most usefully for a fuller parent plant – potted back into the same container as the parent. Adding three or four rooted spiderettes around the base of the parent plant in the same pot increases the density of leaves.
The new plants and the parent coexist happily, each growing independently but making the display much fuller. This produces the very impressive dense spider plant specimens that look like they have been growing for many years.
Aftercare Following Pruning
Spider plants are the most forgiving of all houseplants when it comes to aftercare following pruning. Because it’s such a resilient plant means that normal care soon after pruning is the right approach.
Watering After Pruning
Water the plant normally after pruning. If the plant was due watering, water it. If not, wait as normal.
Light After Pruning
Keep the plant in its normal position after pruning. A spider plant that was growing in bright indirect light before pruning should stay in bright indirect light afterward. There is no need to provide extra light and no need to reduce light to give the plant a rest.
If the pruning was significant – removing a large proportion of the plant’s leaves – it is worth noting that the plant’s will need less light temporarily because of having fewer leaves. A dramatically pruned plant has less capacity for photosynthesis and therefore less need for water.
Watch for the compost staying moist longer than usual after a big prune and adjust how often you’re watering rather than continuing to water on a fixed schedule.
Feeding After Pruning
For a light pruning – removing a few dead leaves and some runners – resume feeding normally. For a big prune hold off on feeding for two to three weeks.
The plant’s reduced leaves means reduced photosynthetic capacity and reduced nutrient uptake. Fertiliser in this period is more likely to build up as salts in the growing medium than to be used productively.
Resume feeding when you see clear new growth emerging from the crown – the sign that the plant is back in active growth mode.
What to Expect and When
New leaves on a pruned spider plant emerge from the centre of the crown continuously – this is how the plant always grows and pruning won’t stop or speed up this process. What changes after pruning is that the new leaves are more visible because the dead and aged material that was obscuring them has been removed. Plus the crown has more resources available if runners have been removed at the same time.
In the spring and summer new leaves are usually visible within two to three weeks of pruning. The plant was already producing them and they becomes more obvious once older material is out of the way.
In autumn and winter the growth slows and new leaves may take four to six weeks to become clearly visible. This is normal seasonal behaviour and does not mean the pruning has caused any harm.
The One Thing That Can Go Slightly Wrong
Occasionally after removing runners a plant that was producing them will seem to pause – no new runners appearing for several weeks or months. This is just the plant redirecting the energy it had been investing in runners back into its own growth and its what you wanted.
New runners will eventually reappear once the crown has benefited from the redirected resources and the plant’s growth cycle brings it back to the point of growing runner. The pause is temporary and a sign that the pruning has had the wanted effect.
