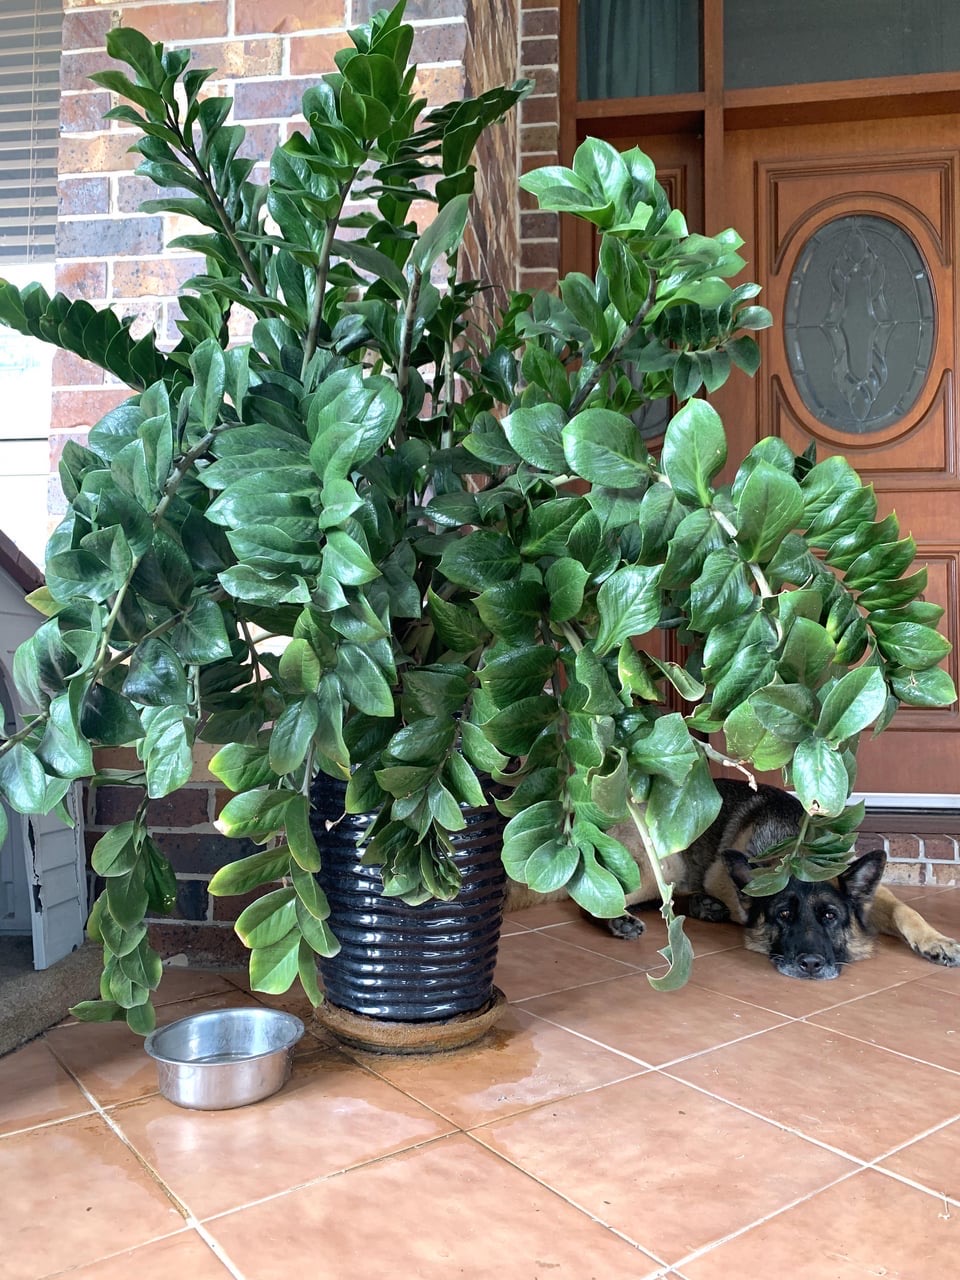
Getting your ZZ plant to grow and do well isn’t rocket science. But at the same time there is more to it than just letting it get on with it and not being involved at all.
And what if you want yours to grow faster and be healthier? Well when you understand what makes ZZ plants thrive you can figure out how to really get them growing quickly and get yourself a big and healthy looking plant.
So if you’re a beginner or a more experienced gardener these tips will help you to care for your ZZ plant the best way.
Quick Answer
- Give Bright, Indirect Light: ZZ plants grow much faster in brighter shade than in the dark or dim light. Put them near a window with gentle light.
- Water the Right Way: Let the soil dry out almost fully before you water again.
- Feed Lightly: Use a balanced fertilizer every 6 to 8 weeks through the spring and summer.
1. Choose the Right Spot for Lighting
Why Lighting Matters
Light is probably the biggest secret when it comes to ZZ plants success. They’re adaptable and so won’t die if you don’t give them enough but they also won’t grow well.
The best spot for them? A bright room that’s away from direct sunlight.
A sunny east window will work perfectly. Your ZZ plant will love the gentle morning sun and won’t get burnt by it.
Tips for Maximizing Growth with Lighting
- South or East facing windows: Gives them the right indirect light without being in direct sun.
- Artificial grow lights: If your home doesn’t get much natural light then use LED grow lights. A full spectrum light for 12 to 14 hours a day works well.
- Rotate your plant every week so all sides get the light evenly.

2. Use the Right Soil Mix
For the soil it’s a good idea to think about what ZZ plants would have needed in their natural habitat. They like a mix that drains well but also holds on to enough moisture so that they don’t dry out.
So try mixing regular potting soil with something like perlite or coarse sand. You want to be making a mixture that feels like the forest floor would. If you’ve got any then you can also add some orchid bark.
This simple DIY soil recipe for ZZ plants may help:
| Ingredient | Quantity | Purpose |
|---|---|---|
| Potting soil | 2 parts | Holds on to nutrients |
| Perlite | 1 part | Improves drainage |
| Coarse sand | 1 part | Prevents soil getting compacted |
| Orchid bark (optional) | 1 part | Improves the air flow |
3. Water Smarter
Watering is one of the major worries people have with their ZZ plant. And it’s understandable as overwatering is the most common mistake with ZZ plants. So always make sure you let the soil dry out completely before you watering again.
Forget a really rigid schedules though. Your plant will tell you when it needs water.
The thick stems it grows are that way for a reason. They are designed to hold on to water and store it so your plant can do well and keep on living even if you forget about it for a while.
Wait to water until the soil feels dry when you poke your finger in. And not just on the surface but a few inches down.
And in the winter your ZZ practically hibernates so it’ll need even less water.
How to Tell When to Water
- Push your finger into the soil. If the top couple of inches feel dry then you can be confident that it’s the right time to water.
- If you’re unsure then you can use a moisture meter to be very accurate.
Seasonal Watering Schedule
- Spring/Summer: Water every 2 to 3 weeks.
- Fall/Winter: Reduce your watering to once a month or less.
A lot of people worry about underwatering but these ZZ plants are surprisingly tough. What they absolutely hate though is sitting in soggy soil.
If you’re noticing yellow leaves or the stems turning mushy then you’ve probably overwatered. Remember: it’s easier to revive a ZZ plant that’s stressed from a lack of water than to save one that’s got root rot.
Tip: Always use lukewarm water. Cold water can shock the roots and will slow its growth.
For more help see this guide to watering your ZZ plant.
4. Keep Humidity Balanced
ZZ plants don’t mind too much about humidity. If it’s comfortable for you then it probably is for your ZZ plant too.
They would have adapted to a lot of varying conditions in their native habitat so they’re not going to be all that bothered if your home isn’t a tropical paradise.
But it’s important to be aware of how your home can become too dry in the winter when you’re running the heating. Then your ZZ plant will probably appreciate a little boost of humidity.
You can help it out by grouping it with other plants. What you’re doing is creating a little plant community where they can share moisture.
Just keep some space between them to let the air flow. So if you’ve got a Pothos or Monstera then it would make a great neighbor for your ZZ.
A few extra tips:
- Put a pebble tray filled with water under the pot of your ZZ plant.
- Use a humidifier during the winter.
5. Fertilize Sparingly
Less if definitively more when it comes to feeding. You should be using fertilizer like a multivitamin or boost for your plant, not as a way to replace its meal.
During the growing season (spring through summer), a balanced fertilizer that you’ve diluted should be give every few months. That’s more than enough.
I’ve had w lot of success using half strength fertilizer. It tends to be enough to support the plants growth but doesn’t overdo it.
Fertilizer Tips
- Use a balanced fertilizer (10-10-10 or 20-20-20) diluted to half strength.
- Feed every 6 to 8 weeks during the spring and summer.
- Don’t fertilize in the fall and winter because the plants growth naturally slows down.
If you would prefer an organic option then a fertilizer that’s made from kelp works well.
6. Prune Regularly
Pruning is more than simply how your plant looks. When you remove dead or dying leaves it means your ZZ can send the energy to the places that matter the most, I.e. new growth.
So if you notice a yellowing stalk then you should be getting your scissors and getting rid of it. Every stem you cut gives your plant a chance to focus on healthy and new growth.
When you’re pruning you should be making clean cuts just above the point where the stem meets the soil. This will encourage new points of growth.
And you don’t have to be too careful with it. ZZs are forgiving and able to withstand a lot.
Just make sure your scissors are clean so you aren’t spreading any bacteria.
How to Prune
- Cut off any yellow, damaged or leggy stems.
- Remove the dead leaves that have fallen on the surface of the soil so you don’t get any pests and diseases.
7. Repot When the Time is Right
You might begin to notice your ZZ plant getting a bit too big for its pot. The signs are fairly subtle – soil drying out faster than before, new shoots appearing close together etc.
ZZ plants don’t make a big deal of being root bound. They’ll take their time showing the signs.
When you do repot it’s a good idea to only go up by one pot size. They like to be a bit snug in their containers.
Signs your plant needs repotting include:
- Roots that grow out of the drainage holes.
- The soil dries out very quickly after being watered.
- Growth has slowed despite giving it the right care.
How to Repot
- Choose a pot that’s about 1 to 2 inches larger than the one your ZZ plant is currently in.
- Use fresh soil.
- Water it lightly after you’ve finished repotting it as it will help the roots settle.
8. Propagate for Fresh Starts
Turning one ZZ plant into many more is great fun and surprisingly easy. It’s all about the rhizomes that are hiding under the soil.
Wait until the spring to propagate. It’s when your ZZ plant is going to be most ready for growth.
I’ve had the most success with division during repotting.
So take your plant out of its pot. You should be able to see the rhizomes and you’ll notice natural points where they’re separated.
Each of those sections should have a few stems and healthy roots that will turn in to a new plant. All you have to do is untangle them, like you were untangling a clump of bulbs.
Leaf propagation works too, although it takes a long time and you’ll need to be very patient. It can be months before you see anything start to happen.
But it’s easy. Put them in soil that drains well, keep them just a little moist and eventually you’ll see tin rhizomes start to form.
Methods of Propagation
- Leaf Cuttings: Cut a healthy leaf, leave it for a day so it gets a callus and then plant it in soil that’s moist.
- Stem Division: Untangle the clumps of roots and plant them in their own pots.
- Water Propagation: Put a stem cutting on water until roots start to grow. Then you should transfer them to soil. Use this easy guide for propagating a ZZ plant in water.
9. Maintain a Consistent Temperature
ZZ plants are fairly relaxed about temperatures. But they do like it when it’s not an extreme either way. Not too hot or too cold.
They like the same sort of temperatures we do. So think of where you or a family member would feel happy sitting in your home and that will be perfect for your ZZ.
Sudden temperature changes will stress ZZ plants though. Keep them somewhere stable, between 65°F and 75°F (18°C to 24°C). Don’t put them anywhere near air conditioners, dearth windows and doors or heaters.

10. Stop Pests
ZZ plants do well with pests but aren’t completely immune. Common pests include:
- Spider mites: Look under the leaves for small webs.
- Mealybugs: White clusters will be found on the leaves or stems.
How to Treat
- Wipe the plant with a cloth. Soak it in diluted neem oil first.
- Use insecticidal soap for bad infestations.
11. Rotate Your Plant
As ZZ plants grow towards the light it means you can end up with lopsided growth. So try turning your plant a quarter every week.
You should notice the different in how evenly it grows after doing so.
12. Clean the Leaves
You may think the leaves on your plant look glossy purely for appearance but they’re also the way it grows. They photosynthesize through those leaves so if dust builds up on them it can affect how well they grow.
All you have to do is wipe them
With a cloth every few weeks. You ca also most them too to get a really natural looking shine.
13. Avoid Overcrowding
ZZ plants do not like to be cramped. You should be giving them a good amount of space wherever you put yours.
So make sure there’s a good amount of air flowing around the plant and it will help to stop mildew or mold from growing. Also put don’t put it against walls or next to other large plants.
14. Use Companion Plants
Put your ZZ with other plants that need the same sort of care. Pothos and snake plants are good choices.
But as just mentioned don’t overcrowd it. If you get it right then having companion plants can support your ZZ in how it grows.
15. Patience Pays Off
ZZ plants grow slowly. That’s just the way they are.
So even if it feels like you’re not getting much growth at first try to be patient. Stick with it and eventually your care will pay off.
Common ZZ Plant Issues and Solutions
| Issue | Cause | Solution |
|---|---|---|
| Yellow leaves | Overwatering | Let soil dry out and check to see if the pot is draining well. |
| Brown tips | Low humidity or not enough water | Increase the humidity and give more water. |
| Leggy growth | Not enough light | Move to brighter indirect light. |
| Root rot | Poor drainage or overwatering | Repot in fresh soil. |
Troubleshooting and Extra Tips
There’s a good chance you’ll run in to some challenges every now and again. It could be yellow leaves or growth has virtually stopped.
Whatever it is – try not to panic. Things going wrong like that are the way your ZZ tells you it’s unhappy.
For something like yellow leaves it’s sully from overwatering. So ease up on the water, make sure your plant has good drainage and it will quickly bounce back.
A few extra unusual tips:
- Cinnamon for Root Growth: Dip your cuttings in cinnamon powder before you plant them. It should help to get the roots to grow.
- Banana Peel Water: Soak banana peels in water and use them as a fertilizer. It will give your plants a boost of potassium.
- Aquarium Water: Use any aquarium water you have leftover for watering. It’s got lots of nutrients that can boost your plant.
The tips and guides found here will make your ZZ plant do more than survive – it will be flourishing.
But keep experimenting with what works best in your home and don’t forget to enjoy getting to see your plant grow.
Good information thank you so much 🙏