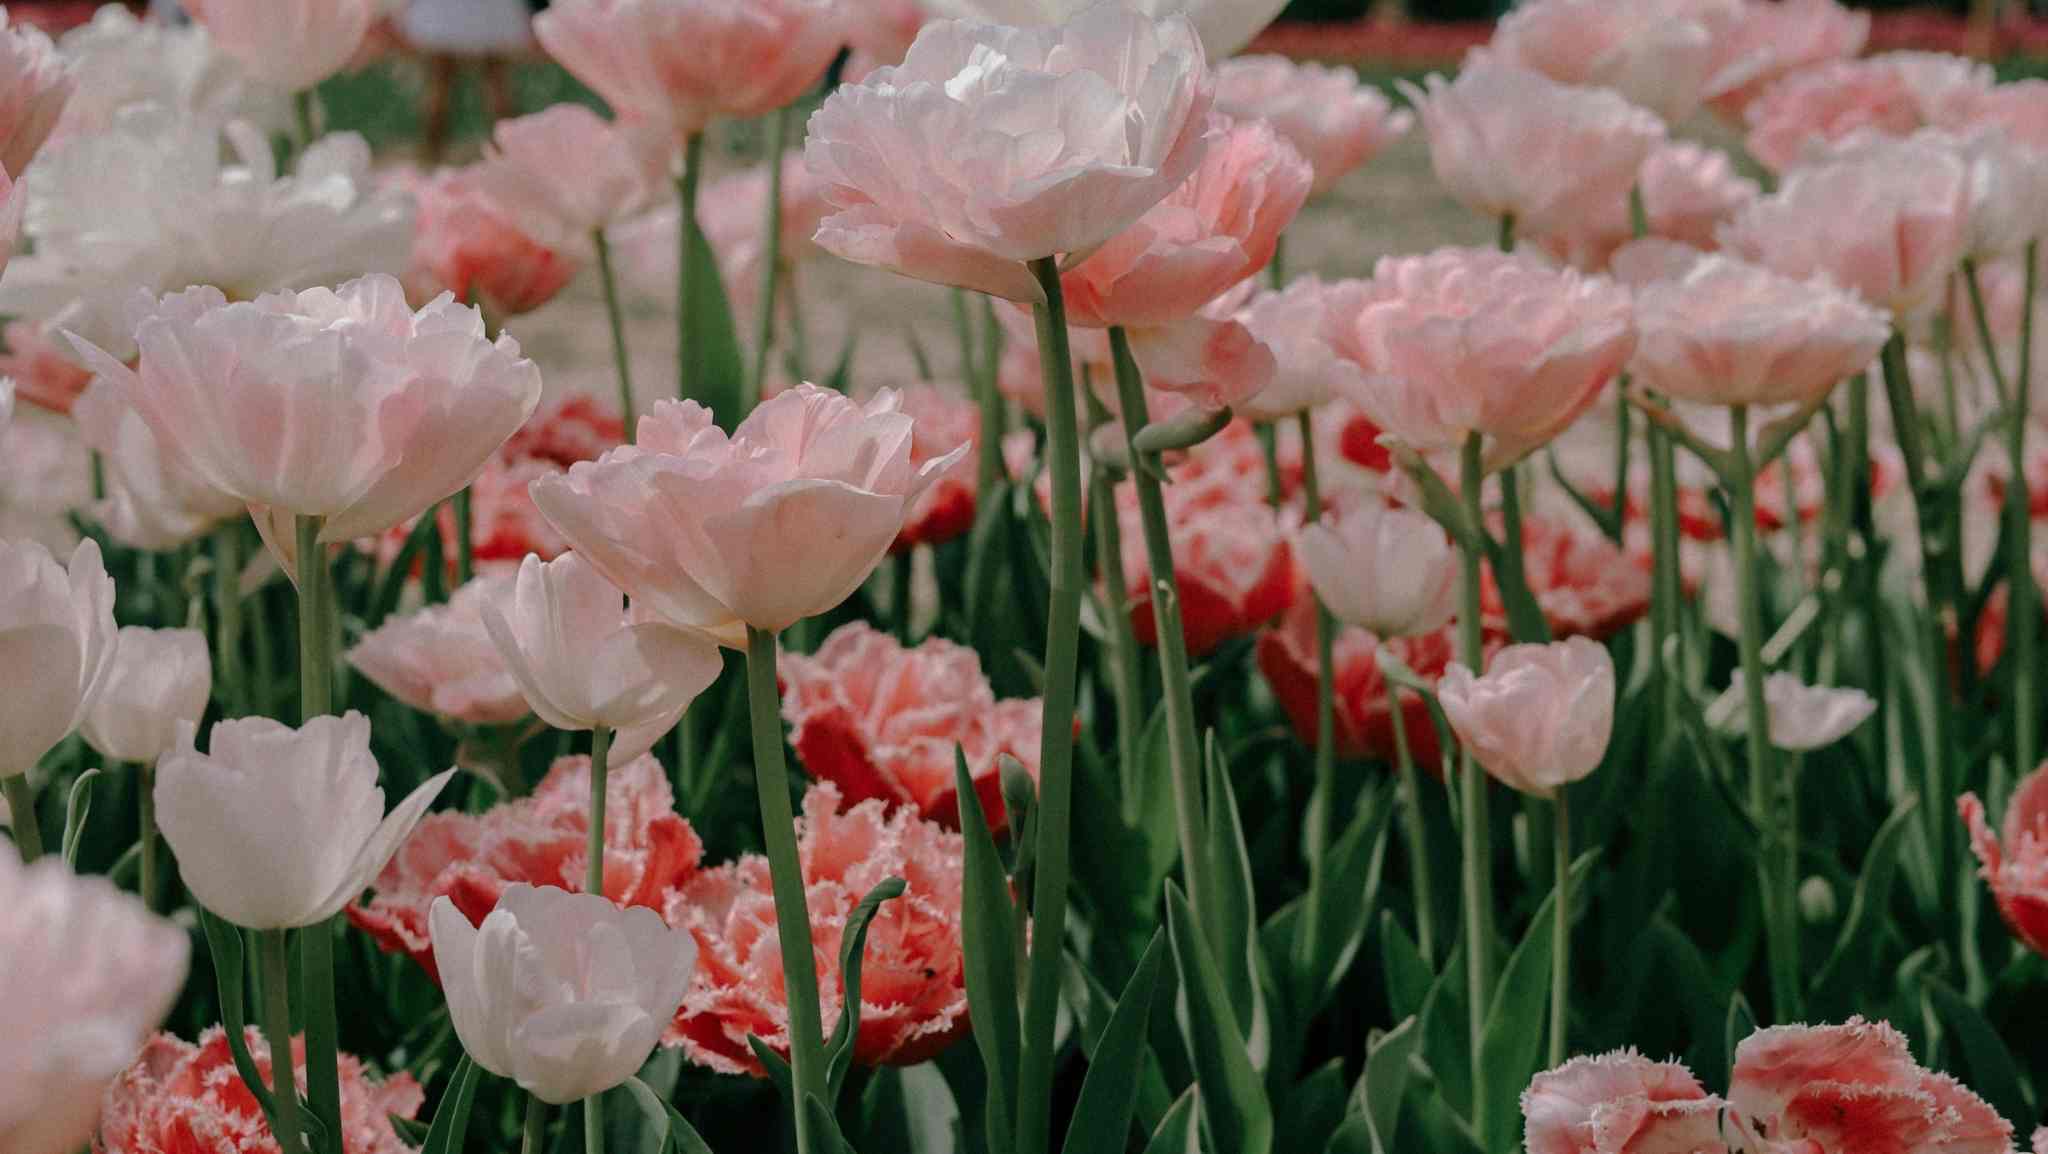
Spring brings a burst of colors and among the first flowers to emerge are the vibrant and elegant tulips. These perennials can turn any garden into a kaleidoscope of colors.
However, growing tulips isn’t just about planting bulbs. It involves the right timing, soil preparation and a bit of patience, amongst other things.
Caring for tulips doesn’t have to be daunting though. With the right knowledge you can make sure these beautiful flowers thrive in your garden year after year. And this article will help you with everything you will need – from selecting the perfect spot to understanding their watering needs.
Understanding the Basics of Tulips
Types of Tulips
There are over 3,000 varieties of tulips categorized into 15 groups, based on flower shape, height and blooming period. Varieties range from the classic single and double early tulips to the ruffled parrot tulips and the striking lily-flowered types. Each variety has its own unique characteristics, such as color and blooming times. This gives you the chance to create a garden with waves of color throughout the season.
The Life Cycle of a Tulip
Understanding the life cycle of a tulip is essential for successful cultivation. A perennial by nature, the tulip starts its journey from a bulb, which is planted in the fall to ensure a vibrant spring display. Upon planting the cooler temperatures stimulate root development, a critical step before the winter sets in.
As spring arrives, the tulip enters a growth phase, using the energy stored in the bulb to push through the soil. Leaves emerge first, followed by the distinctive flower bud. After blooming, which can last for up to three weeks, the focus shifts to replenishing the bulb’s energy reserves for the next season. (And that’s why it’s important to allow the foliage to remain until it yellows and dies back naturally).
Post-bloom the tulip enters a dormant stage during the summer months. The bulb remains underground, protected from the heat. In this period the tulip is already preparing for the next cycle, developing new bulbs (offsets) that can be separated and replanted to propagate the tulip display.
Familiarizing yourself with the history and types of tulips, along with their life cycle, gives you a solid foundation for growing and caring for your own tulips.

Preparing Your Garden for Tulips
A well-prepared garden will give you the best chance of your tulips thriving. Below are key steps to choosing the right location and preparing the soil for successful tulip cultivation.
Choosing the Right Location
Selecting the best location for your tulips is crucial for their growth and blooming success. Tulips need a spot that receives at least six hours of direct sunlight daily. They thrive under full sun exposure, which encourages strong stems and vibrant flowers. Identify an area in your garden that meets these sunlight requirements, keeping in mind that early spring sunlight is different from the full summer sun.
Additionally, consider drainage when choosing a location. Tulips prefer well-drained soil to prevent bulb rot. If your garden tends to retain water then go for a raised bed or a slope where water can naturally flow away from the bulbs.
Soil Preparation and Requirements
Soil preparation is another important step in creating ideal conditions for tulips. Tulips favor a neutral to slightly acidic soil pH, typically between 6.0 and 7.0. If you’re unsure about your soil’s pH then consider using a soil test kit available at most garden centers. Based on the results you may need to change or alter your soil to reach the best pH range.
Incorporate organic matter into your garden bed to improve soil structure and fertility. Compost, well-rotted manure, or leaf mold increases the soil’s ability to retain nutrients and improves drainage, catering to the needs of tulip bulbs. Till the soil to a depth of 12 to 15 inches and mix in the organic matter evenly. This step not only enriches the soil but also ensures it’s loose enough for the roots to easily penetrate and establish.
By choosing the right location and meticulously preparing the soil, you create a the perfect environment for your tulips.


Planting Tulips
The next step in your centers on planting. This stage is essential so that your tulips not only bloom but also thrive.
When to Plant Tulip Bulbs
Timing is everything when it comes to planting tulip bulbs. Aim for the fall, as tulips require a cold dormancy period to bloom. Depending on your USDA hardiness zone, this typically means planting from September to November. Plant the bulbs at least six weeks before the ground freezes. This timing allows the bulbs to establish roots before the winter sets in.
How to Plant
Start by digging holes or a trench where your bulbs will reside. The key here is that the bottom of the hole is loosened, facilitating easy root growth. Place the tulip bulbs with the pointed end facing up, as this is where the stem will emerge. It’s a simple way to guarantee that your tulips grow upwards towards the sunlight.
Planting Depth and Spacing
For optimal growth tulip bulbs should be planted about three times their height in depth. Typically, this means planting them approximately 6 inches deep. Spacing is also vital for healthy growth and adequate air circulation among the plants. Maintain a spacing of about 4 to 6 inches between each bulb. This will prevent overcrowding.
Watering Needs After Planting
Immediately after planting water your tulip bulbs thoroughly. This initial watering is essential to settle the soil around the bulbs and provide the moisture needed to stimulate root growth. However, after this initial watering, you should only water the bulbs sparingly. Tulips prefer well-drained soil, and excessive watering can lead to bulb rot. Keep the soil moist but not waterlogged, especially during dry periods in the fall.
Caring for Tulips Throughout the Seasons
Proper care for yo bulbs will involve several key practices, including fertilizing, managing pests and diseases and mulching and weeding strategies. These practices are vital for your tulips to continue flourishing.
Fertilizing Tulips
Fertilizing plays a big role in providing tulips with the necessary nutrients for the best growth and flower production. Introduce a balanced 10-10-10 fertilizer into the soil at the time of planting to give your tulips a healthy start. Once the tulips begin to emerge in spring, applying a slow-release bulb fertilizer will support their growth and help to get a robust bloom. It’s important to follow the recommended application rates on the fertilizer package to avoid over-fertilization, which can be detrimental to the plant’s health.
Managing Pests and Diseases
Tulips, while resilient, can fall prey to various pests and diseases that hinder their growth and bloom. Common pests include aphids, slugs and snails, which can be controlled through regular monitoring and the use of organic pest control methods when necessary. Diseases such as tulip fire (Botrytis tulipae) and bulb rot pose significant threats and are best managed through preventative measures, including practicing crop rotation and ensuring proper drainage to avoid waterlogged conditions. If you detect signs of disease, removing affected plants immediately will help prevent its spread.
The Importance of Mulching and Weeding
Mulching and weeding maintain a healthy environment for tulips. Applying a layer of organic mulch around the tulips will help regulate soil temperature, retain moisture and suppress weed growth. This protective barrier also adds nutrients to the soil as it decomposes. Regular weeding is necessary to prevent competition for nutrients and water and allow your tulips to receive all the resources they need to thrive. Hand-pulling weeds is recommended to avoid disturbing the tulip bulbs.

After Blooming Care
After your tulips have completed their stunning spring display the care doesn’t stop. To make sure they return the following year specific actions must be taken during their post-blooming phase.
What to Do With Tulip Bulbs After Blooming
Once your tulips have bloomed and the petals have fallen, the focus shifts to the bulb, the powerhouse for next year’s growth. Your main goal is to replenish the bulb’s energy reserves.
- Leave Foliage Intact: Resist the urge to cut back the foliage immediately after blooming. The leaves continue to photosynthesize, creating food stored in the bulb.
- Watering: Continue watering if the rainfall is less than 1 inch per week to encourage continued nourishment absorption.
- Fertilize: Apply a bulb fertilizer, or bone meal, around the plants to provide necessary nutrients for bulb strengthening.
- Sunlight Exposure: Check your tulips receive plenty of sunlight even after blooming. Remove any shading elements if possible.
- Natural Dying Process: Allow the leaves to yellow and die back naturally. This signifies the bulb has entered dormancy, ready for the next season.
How to Cut Tulips so they Regrow
Cutting tulips correctly can promote the health of the bulb and ensure the beauty of your garden for years to come.
- Timing: Wait until the leaves have turned yellow and withered before cutting. This indicates the plant has redirected energy back to the bulb.
- Technique: Using sanitized, sharp scissors or pruners, cut the stem close to the ground level. Avoid pulling the stem as this can damage the bulb.
- Hygiene: Clean your cutting tool after each plant to prevent the spread of disease.

Propagating Tulips
After focusing on post-blooming care, propagating tulips becomes the next important aspect of maintaining their beauty season after season. Propagation allows you to expand your tulip collection without the need for purchasing new bulbs annually. It involves two main methods: dividing tulip bulbs and growing tulips from seeds. By understanding these approaches, you can cultivate a more vibrant and diverse tulip garden.
Dividing Tulip Bulbs
Dividing tulip bulbs is a straightforward method to propagate these beautiful flowers. This process involves separating the offsets, or small bulbs, from the mother bulb after the foliage has died back. Here’s how to do it properly:
- Wait for the Right Time: Begin in late spring or early summer, once the tulip leaves have yellowed and died down. This timing is crucial as it indicates that the bulbs have entered dormancy.
- Gently Dig Up the Bulbs: Use a spade or gardening fork to carefully lift the bulbs from the ground, avoiding damage.
- Separate Bulbs: Examine the clump and gently pull away the smaller bulbs that have formed around the base of the mother bulb.
- Inspect and Choose Healthy Bulbs: Look for bulbs that are firm and free of disease or damage. Discard any that don’t meet these criteria.
- Replant Immediately or Store: Replant your bulbs in a well-prepared site as soon as possible. If you must delay planting, store them in a cool, dry place until planting can occur in the fall.
This method is ideal for expanding the number of tulips in your garden quickly and effectively. It also helps maintain the health of your bulbs by reducing overcrowding.
Growing Tulips from Seeds
Propagating tulips from seeds is a longer-term approach but exciting for those interested in cultivating unique tulip varieties. Here’s the process:
- Collect Seeds: After the flowers have bloomed and the petals have fallen, a seed pod will form. Wait for this pod to dry on the plant, then collect the seeds.
- Prepare for Planting: Since tulip seeds require a cold period to germinate, simulate winter conditions by placing the seeds in a sealed bag with moist sand and refrigerating for 12-16 weeks.
- Sow the Seeds: After the cold stratification period, sow the seeds in well-draining soil. Cover lightly with soil and keep moist.
- Provide Proper Care: Maintain the seedlings in a sunny location and keep the soil consistently moist. Patience is key, as it may take a few years before seed-grown tulips flower.
While this method requires more time and patience, it offers the possibility of developing new tulip varieties and colors. It’s a rewarding process for gardeners looking to experiment and potentially create something truly unique in their garden.
Growing Tulips Indoors
Growing tulips indoors let’s you enjoy their beauty year-round. Indoor growth needs specific conditions to mimic the natural environment tulips thrive in.
Selecting Bulbs for Indoor Growth
Choose bulbs specifically marked for forcing. These have undergone a pre-chilling process, essential for simulating winter conditions. Varieties like ‘Tulipa Triumph’ and ‘Tulipa Darwin Hybrid’ adapt well to indoor environments.
Preparing Bulbs
Start by chilling non-pre-treated bulbs in your refrigerator for 12-16 weeks. Avoid storing them alongside fruits, as the ethylene gas produced can damage the bulbs.
Potting and Planting
Select a well-draining pot with lots of room for root growth. Fill it halfway with potting soil, place the bulbs close but not touching, and add more soil to cover them, leaving the tips exposed. Water thoroughly after planting.
Providing Proper Care
Position your pots in a cool, dark place for the first few weeks, then move them to a sunnier spot once shoots appear. Keep the soil consistently moist but not waterlogged. Tulips indoors prefer cooler temperatures, between 60-65°F (15-18°C), for the best growth.
Timing Blooms
For blooms during specific events or seasons calculate backward from your desired bloom time to schedule planting and chilling. Typically, tulips flower 2-3 weeks after being brought into warmth and light.
Common Mistakes in Growing and Caring for Tulips
Recognizing and avoiding common mistakes will mean your tulips can thrive without any issues. From improper soil preparation to neglecting post-bloom care, understanding these pitfalls can make a big difference to the health and beauty of your tulips.
Planting at the Wrong Time
Planting tulip bulbs at the incorrect time can lead to poor growth or failure to bloom. Ideally, plant them in the fall, allowing enough time for root establishment before winter.
Insufficient Soil Preparation
Neglecting soil preparation affects tulip health. For optimal growth you want the soil to be well-drained and enriched with organic matter. Poor soil condition leads to waterlogged bulbs and root rot.
Over or Under Watering
Water wisely; too much leads to bulb rot, too little and the tulips can wilt. Especially after planting you want the soil to be moist but not saturated.
Ignoring Pest Control
Pests such as aphids and squirrels can damage or eat bulbs and flowers. Employ preventive measures like applying appropriate pesticides and using physical barriers to protect your tulips.
Forgetting to Fertilize
Fertilizing enhances tulip growth and bloom. Use a slow-release bulb fertilizer at planting and again in the spring to nourish the bulbs.
Overlooking Post-Blooming Care
Post-blooming care like deadheading spent flowers and allowing leaves to die back naturally is essential for replenishing the bulb’s energy reserves. Removing foliage too early can weaken the bulb.
Not Dividing Bulbs Regularly
Failing to divide tulip bulbs every few years leads to overcrowding, which can decrease blooming. Division encourages healthy growth and increases the number of plants.
Why your Tulips Are Drooping
Drooping tulips can be disheartening after dedicating time and effort. Understanding the causes is key for correcting and revitalizing your flowers. Several factors contribute to the drooping of tulips, ranging from environmental to biological.
- Inadequate Watering: Both over and under-watering lead to tulip droop. Tulips require a balance; moist soil encourages their growth, but too much water causes bulb rot, leading to weak stems.
- Excessive Heat: Tulips thrive in cooler climates and might droop as a defense mechanism against heat, preserving moisture. Adequate mulching can help maintain soil temperature.
- Poor Soil Conditions: Drainage and nutrient-rich soil significantly impact tulip health. Compacted or poor-quality soil restricts root growth, leading to drooping. Amending your soil with compost improves both drainage and nutrient content.
- Pest and Disease Pressure: Aphids, bulb mites and fungal diseases like tulip fire can weaken plants, manifesting as drooping. Regularly inspecting plants and applying appropriate treatments keeps pests and diseases at bay.
- Exhausted Bulbs: After bloom, tulip bulbs can become exhausted, resulting in droopy flowers the following season. Replenishing bulb energy through post-blooming care, such as deadheading and leaving foliage until it yellows, is critical.
Frequently Asked Questions
How should I select a location for planting tulips?
Choose a location with plenty of sunlight and well-draining soil. Tulips thrive in areas that receive at least 6 hours of direct sunlight each day.
What is key to preparing soil for tulips?
For the. Eat growth use organic matter to improve soil structure and drainage. You want the soil to be loose and fertile before planting bulbs.
How can I care for tulips throughout the seasons?
Regular watering, especially during dry spells, and removing weeds that compete for nutrients are crucial. After blooming, allow the foliage to naturally wither to redirect energy to the bulbs.
Is indoor cultivation of tulips possible?
Yes, with sufficient light and careful watering, tulips can be grown indoors. Choose a cool, bright spot and keep the soil moist but not waterlogged.
What causes tulips to droop?
Drooping can result from inadequate watering, excessive heat, poor soil conditions, pest and disease pressure, or exhausted bulbs. Identifying the cause is crucial for correction.
How do I maintain healthy and upright tulips?
Addressing issues such as irregular watering, soil quality, and pest control. Keep bulbs healthy and with enough energy as it’s essential for vibrant and upright tulips. Regular monitoring and care adjustments are recommended.
