")
Peace lilies are so beautiful, aren’t they? Their white blooms and green leaves are gorgeous and really lighten up our homes.
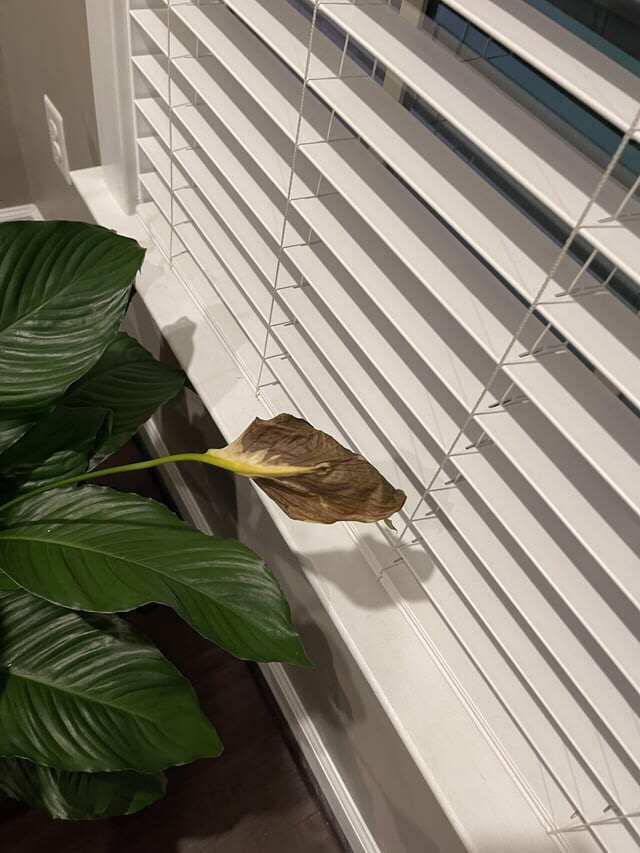
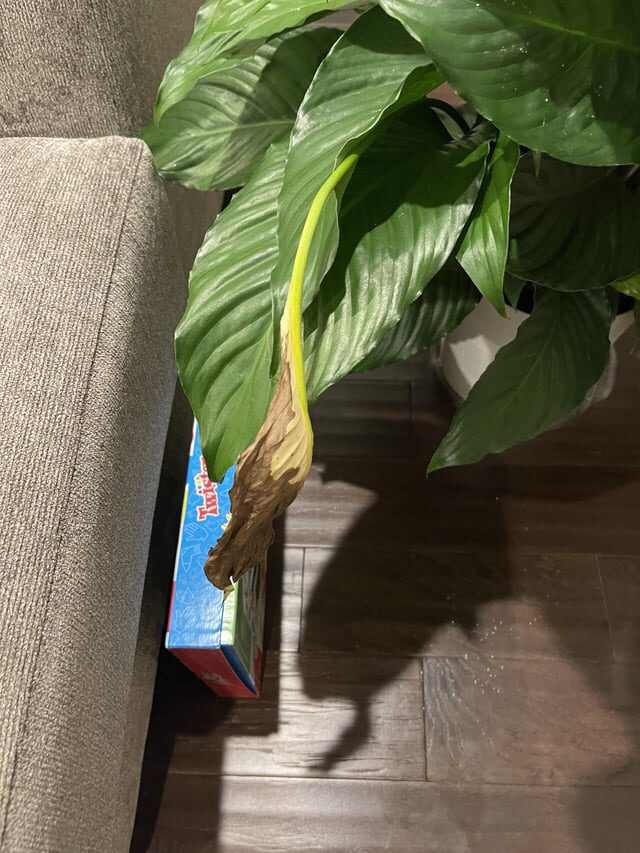
But even if you worship your peace lily and think you’re doing everything right it can still struggle. Drooping, yellow leaves and wilting flowers are all common signs that something is wrong.
Don’t worry or panic though – peace lilies are tough plants and it doesn’t take a lot to bring them back to life. So I’m going to take you through what could be causing problems with your peace lily and how to fix it.
Quick Answer
- Check Watering Routine (Most Common): Water only when the soil feels dry. If the soil is soggy repot and cut off the dying roots.
- Fix the Lighting: Peace like prefer bright, indirect light. Don’t put them in direct sun as they’ll get burnt but they also don’t like too much shade.
- Humidity and Airflow: They love moisture. Mist the leaves often or put a tray of water and pebbles close to it.
Need more help? See this Peace Lily Care Guide: Tips to Get Thriving Plants.
Video: Save a Dying Peace Lily
Understanding Why Your Peace Lily is Dying
Before you start saving your plant it’s important to figure out what the actual problem is. Most peace lilies begin to show distress due to one or more of the following:
- Overwatering: This is the most common mistake. Give a peace lily too much water and it’s roots will struggle to breathe (so suffocate) and end up rotting.
- Underwatering: If you don’t give your peace lily enough water the leaves will wilt and it will eventually die.
- Wrong Lighting: Peace lilies do best in bright, indirect light. If they get too much direct sunlight it will burn their leaves.
- Low Humidity: Peace lilies are tropical plants so like higher humidity. Dry air upsets and stresses them out.
- Nutrient Deficiency: Not getting enough nutrients, especially during the growing season, will stop a peace lily growing properly.
Once you’ve got a good idea of why your peace lily is struggling it’s time to work on saving it.
Step by Step Guide to Reviving Your Peace Lily
1. Look at your Watering Routine
As mentioned, one of the most common reasons for a failing peace lily is getting the watering wrong. They like the soil to be fairly moist but not soggy.
This is how to get it right:
- Check the Soil: Put your finger about an inch deep in the soil. If you can feel it’s dry then you should be watering. If it’s damp then you should wait a few more days.
- Water Correctly: When you are watering your peace lily make sure the water flows all the way through and out of the drainage holes. The excess water should drain out and don’t let the plant sit in standing water as it can result in root rot.
- Signs of Overwatering: Yellow and/or wilting leaves are telltale signs that your peace lily is waterlogged. If there’s root rot then you should repot the plant with fresh soil.
- Underwatering Issues: If the leaves are droopy and brown at the tips then that’s a good sign it’s not getting enough water. Giving it a drink will perk it up quickly.
Our peace lily watering guide will help you to figure out how much it needs, when to water and how often.
2. Optimize Light
Peace lilies love bright but indirect light – it makes them grow far more. But if they get too much direct sun then they will end up with burnt leaves. And this will stop them growing.
- Location: Put your peace lily in north or east facing window as it will get lots of light there but not the harsh rays of the sun. So it will avoid being burnt.
- Signs of Too Much Light: Yellowing leaves and burnt tips of the leaves are clear signs it’s getting too much light. If you see these signs the move your peace lily to a spot with more shade. See this guide for more reasons for yellow leaves on your peace lily.
- Too Little Light: If your peace lily is becoming leggy and has dull leaves then it probably needs more light. Simply move it closer to a light source.

3. Repotting and Root Care
Peace lilies can become root bound. This is when the roots are too big for the pot and don’t have space to grow or take in the water and nutrients the plant needs.
- When to Repot: If you see then roots poking out of the drainage holes or your peace lily has stopped growing then it is probably time to move it to a bigger pot.
- Choosing a Pot: Only move up one or two sizes (1 to 3 inches larger). If you use a pot that’s too big for your peace lily you can run in to problems with overwatering.
- Fresh Soil: Use soil that drains well. A mix specially for houseplants is a good choice. The fresh soil will give the roots a chance to breathe and absorb the nutrients they need.
- Root Rot: If you’re worried about root rot then take the plant out or it’s pot, trim any mushy or black roots and then repot it in fresh soil. Water sparingly until you start to see new growth.
4. Humidity and Temperature
Peace lilies also love the humidity. This is is because they are naturally tropical plants. So if your home is dry it can cause the leaves to turn brown and become droopy. See this guide for more reasons for droopy leaves.
- Increase Humidity: Mist the leaves regularly or put your peace lily on a tray filled with water and pebbles. A humidifier also works well.
- Ideal Temperature: Peace lilies like the temperature to be between 65 to 75°F. Don’t put it it near drafts, heaters or air conditioners as it will get stressed by the varying temperatures going up and down.
5. Pruning and Cleaning
Pruning is beneficial because getting rid of dead and damaged leaves legs the plant focus its energy on new and healthy growth.
- How to Prune: Snip off any yellow, brown or wilting leaves using scissors. Sterilize them first so you don’t spread any diseases. And cut right at the base of the leaves.
- Cleaning: Over time the leaves can get dust that settles on them. This will stop your peace lily from being able to photosynthesize well. So wipe the leaves with a damp cloth and get rid of the dust or any other grime that has built up.
For more help try our Simple guide to pruning peace lilies.
6. Feeding Your Peace Lily
In the spring and summer, which is the growing season, peace lilies like a little bit of fertilizing. Feeding them roughly every six weeks will hell with flowering and new growth.
- Fertilizer Type: A houseplant fertilizer that you’ve diluted to half strength will be best. Don’t over do it though as too much fertilizer can burn the roots which will cause the leaves to wilt.
- Signs of Nutrient Deficiency: Pale looking leaves and poor growth while not definitive can definitely be a good sign that your peace lily could do with a boost of nutrients.

Common Problems and Solutions
| Problem | Cause | Solution |
|---|---|---|
| Yellowing Leaves | Overwatering, imbalance of nutrients | Change the watering and fertilize during growing season |
| Wilting, Drooping | Underwatering, root rot | Water thoroughly and check for damage to the roots |
| Brown Leaf Tips | Low humidity, fluoride in water | Mist the leaves and try using filtered water |
| Stunted Growth | Poor lighting, root bound | Move to brighter spot and repot the plant |
Long-Term Care Tips
Once you’ve managed to save and review you peace lily you then to keep it healthy. So that means paying it the right sort of attention and maintaining it.
These are some care tips to help your peace lily continue to do well for many more years:
- Keep an Eye on Watering: Let the top part of the soil dry out between each time you water. Don’t forget that while peace lilies like their water they don’t like the soil to get soggy.
- Maintain Humidity: If you live somewhere that is very dry then using a small humidifier near your peace lily can make a big difference.
- Rotate the Plant: To get even growth try rotating your peace lily every couple of weeks. That way every side will receive its fair share of light.
- Regular Fertilizing: Feed to peace lily in the spring and summer months. Stop feeding it in the fall and winter. Simple as that!
Final Thoughts
Reviving a peace lily isn’t all that difficult . If you’re patient an do the right things then there’s a good chance you can get your plant back to it’s healthy former self.
Just follow the steps found here and keep a close eye on it’s progress. You should fairly quickly see some fresh green leaves and maybe even it’s gorgeous white blooms once again.